
To build a pc your own computer from top to bottom can be a rewarding and fulfilling experience. Start by researching and selecting compatible components such as a processor, motherboard, memory, storage, and a power supply. Carefully assemble the components, ensuring proper connections and seating. Install the operating system of your choice, update drivers, and configure the BIOS settings. Take the time to optimize performance through software tweaks and overclocking if desired. Finally, thoroughly test your creation to ensure stability and functionality. Remember to exercise caution, refer to manuals and online resources, and enjoy the process of creating a personalized computer tailored to your needs.
Gather The Necessary Parts And Tools For Building A PC
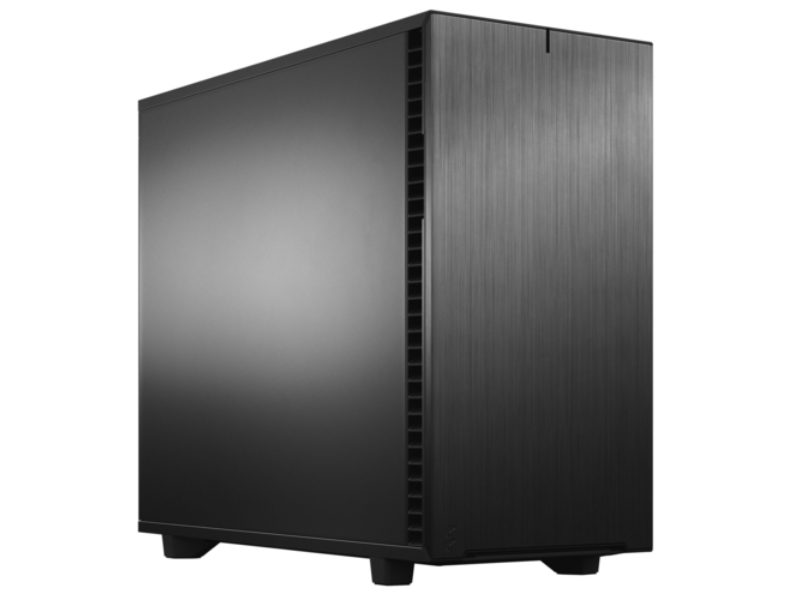
To build a pc canada, you will need several essential parts and tools. First, gather the core components: a processor (CPU), a compatible motherboard, memory (RAM), a storage device (such as a solid-state drive or hard disk drive), a power supply unit (PSU), and a graphics card (if not integrated into the CPU or motherboard). Additionally, you’ll need a computer case to house your components and provide cooling. Other necessary tools include a screwdriver set, thermal paste for the CPU, cable ties for cable management, and an anti-static wristband or mat to protect your components from electrostatic discharge. It’s also helpful to have a monitor, keyboard, and mouse for setup and testing purposes.
Get Your Computer Ready To Assemble: Unboxing And Preparing
Before assembling your computer, it’s important to unbox and prepare the components properly.To build a pc by finding a clean, well-lit workspace with enough room to spread out the parts. Carefully unbox each component, taking care not to damage any delicate parts or lose any small accessories. Remove any protective covers or films from the components, and place them on an anti-static mat or surface to prevent static electricity damage. Organize the components in a logical order to make assembly easier. Keep all the manuals, screws, and cables handy for reference and use during the assembly process. Take a moment to familiarize yourself with the layout and connections of each component by referring to their respective manuals or online guides. By properly unboxing and preparing your computer components, you ensure a smooth and organized assembly process.
Mastering Motherboard And CPU Installation: Key Steps
Mastering motherboard and CPU installation requires a systematic approach to ensure a successful and efficient setup. Begin by carefully selecting a compatible motherboard and CPU combination, considering factors such as socket type, chipset compatibility, and power requirements. Next, prepare the workstation by grounding yourself, gathering necessary tools like screwdrivers and thermal paste, and ensuring a clean, well-ventilated workspace. Follow the motherboard’s manual for step-by-step instructions on socket installation, securing the CPU with proper alignment and gentle pressure. Connect the necessary power cables and peripherals, and double-check all connections before powering on the system. Mastering these key steps will ensure a smooth and reliable motherboard and CPU installation process.
Memory And Storage: Powering Up Your PC
When it comes to powering up your PC, understanding memory and storage is crucial for optimal performance. Start by choosing the right type and amount of memory (RAM) based on your system’s requirements and workload. Installing RAM modules correctly into the motherboard slots will enhance multitasking capabilities and overall speed. Additionally, selecting appropriate storage options like solid-state drives (SSDs) or hard disk drives (HDDs) is essential for data storage and retrieval. Consider the capacity and speed requirements, with SSDs offering faster boot times and data access. Lastly, ensure proper connection and configuration of memory and storage devices, allowing your PC to harness their power effectively and deliver a seamless computing experience.
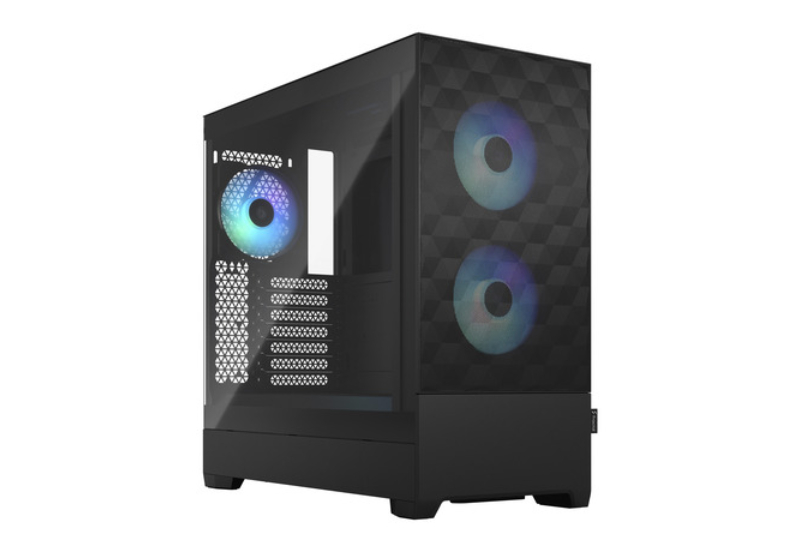
Graphics Card And Cooling Fans Assembly: Ensuring Optimum Performance
To ensure optimum performance of your graphics card and maintain an optimal operating temperature, proper assembly of the graphics card and cooling fans is essential. Begin by selecting a graphics card that meets your gaming or computational needs, considering factors like GPU power, memory, and connectivity options. Install the graphics card securely into the appropriate PCIe slot on the motherboard, making sure it is properly aligned and seated. Next, install cooling fans in your PC case to promote adequate airflow and prevent overheating. Position fans strategically to create a balanced air intake and exhaust system, ensuring cool air is directed towards the graphics card. Proper cable management is crucial to prevent obstructions and maximize airflow. Lastly, configure the fan speeds and monitor temperatures using software tools to optimize cooling performance. By following these steps, you can assemble and configure your graphics card and cooling fans for optimum performance and reliability.
Carefully Connecting Cables And Setting Up I/O Ports
When setting up your PC, it is crucial to carefully connect cables and set up the I/O ports to ensure proper functionality. Begin by identifying the appropriate cables for components such as the power supply, motherboard, storage drives, and peripherals. Ensure that each cable is securely plugged into the correct port, following the respective manuals or markings. Pay attention to cable orientation and alignment to avoid any damage or incorrect connections. Additionally, set up the I/O ports on the rear of the motherboard, connecting devices like monitors, keyboards, mice, and audio peripherals. Double-check the connections to ensure they are secure and properly seated. By taking the time to connect cables and set up I/O ports meticulously, you can prevent potential issues and enjoy a smooth and functional PC setup.
Conclusion
To build a pc your own computer from scratch can be an exciting and rewarding experience. By gathering the necessary parts and tools, unboxing and preparing components, mastering motherboard and CPU installation, adding memory and storage, assembling the graphics card and cooling fans, and carefully connecting cables and setting up I/O ports, you can create a custom PC that meets your specific requirements. Remember to consult manuals and online resources for any specific instructions related to your components. Enjoy the process, and soon you’ll have a fully functional computer that you can proudly call your own.

Allison Cheng is a Michigan-based health enthusiast with extensive experience in lifestyle and fitness coaching. She has a special expertise in nutrition and mental health coaching. She is passionate about helping people become their best selves through health and wellness, and loves to share her knowledge and experiences through her blog and health coaching practice.